Solar Street Light Installation Guide for Road Projects (2026)
Jul 09, 2026
Read:221
Source: Yin Zhenkun
What Is the Process for Installing Solar Street Lights?
Installing solar street lights is not just about fixing a lamp on a pole. A complete solar street light installation process includes product inspection, component assembly, site survey, foundation preparation, wiring, pole erection, system testing, and final commissioning.
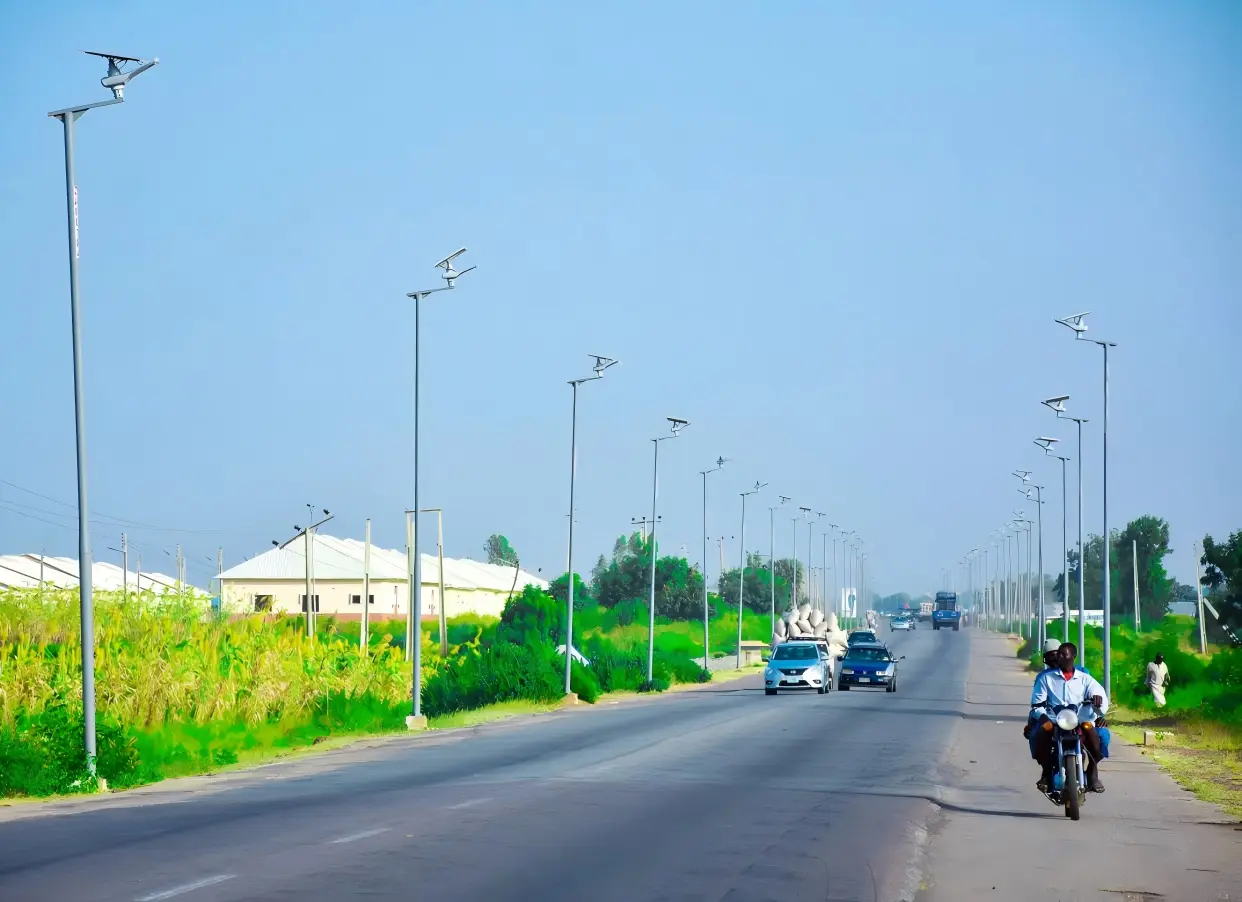
For roads, parking lots, villages, campuses, industrial parks, and municipal lighting projects, each step affects charging efficiency, lighting performance, safety, wind resistance, and long-term reliability. If the solar panel is installed in a shaded area, the battery may not charge fully. If the foundation is weak, the pole may become unstable. If the controller is wired or set incorrectly, the light may not work according to the project requirements.
This solar street light installation guide explains the normal installation process from the perspective of real project work: how the main components are checked, how the site is surveyed, how the foundation is prepared, how the light is assembled, and how the system is tested before final use.
The process for installing solar street lights usually includes checking the components, surveying the installation site, confirming sunlight exposure and pole positions, preparing the foundation, assembling the solar panel and LED fixture, connecting the battery and controller, erecting and fixing the pole, and testing the whole lighting system.
A proper installation should not start directly with lifting the pole. Installers first need to confirm whether the site has enough sunlight, whether the road width matches the lighting design, whether the soil can support the pole foundation, and whether all components are complete and undamaged. After the foundation is ready, the installer assembles the light, connects the wiring, lifts the pole, adjusts the solar panel and lamp direction, and tests charging, lighting, dimming, sensor, and timing functions.
What Are the Main Components of a Solar Street Light?
Before installation, installers usually unpack and check all main components. This step is important because missing accessories, damaged cables, wrong brackets, or loose connectors can delay the project and affect system performance.
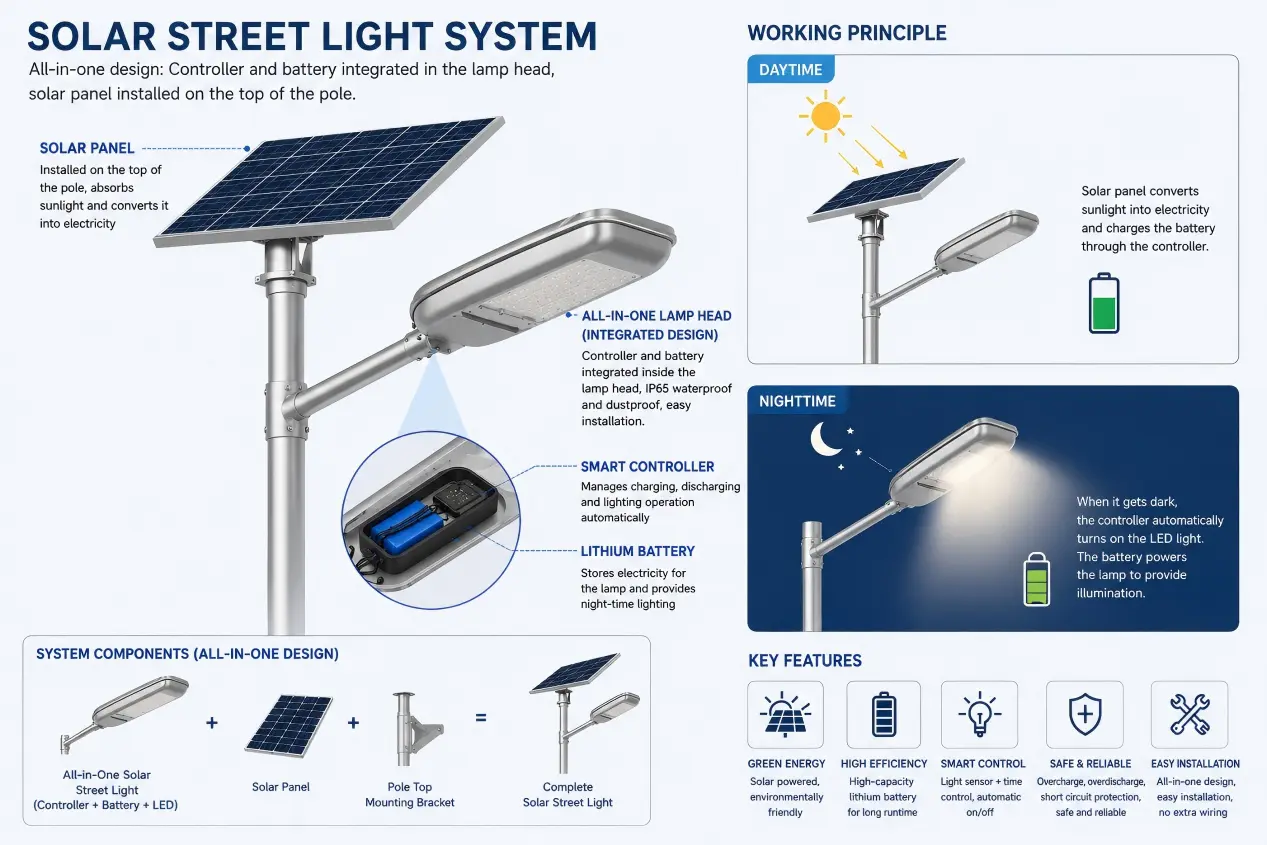
A typical solar street light system includes the following parts.
1. Solar Panel
The solar panel is responsible for converting sunlight into electricity during the day. It is one of the most important parts of the whole system because the battery depends on it for charging.
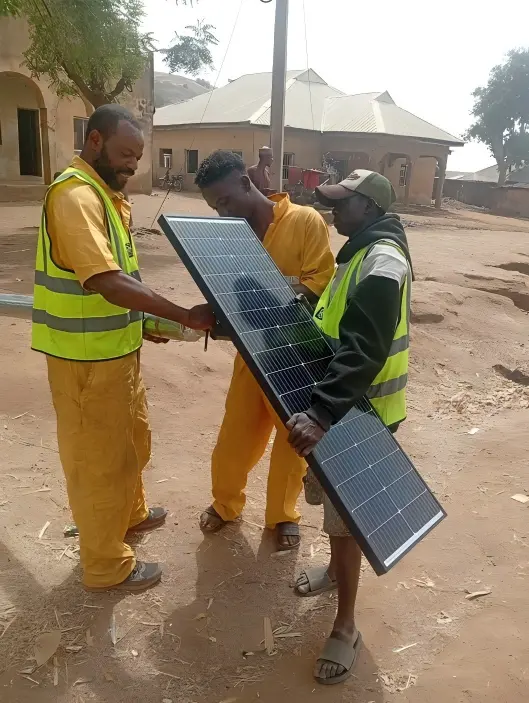
During installation, the installer checks whether the panel surface is damaged, whether the frame is deformed, whether the mounting holes match the bracket, and whether the output cable and connector are in good condition. The solar panel should be installed in a position with strong sunlight and minimal shade. Its direction and tilt angle should be adjusted according to the local sunlight condition.
For most installations, the solar panel should face the direction with the best sunlight exposure. In the Northern Hemisphere, this usually means facing south; in the Southern Hemisphere, it usually means facing north. However, the final direction should still be adjusted according to the real site condition, surrounding buildings, trees, and shading patterns.
2. LED Fixture
The LED fixture provides road or area lighting at night. Installers need to check the lamp body, lens, cable, mounting arm, screws, and waterproof structure before installation.
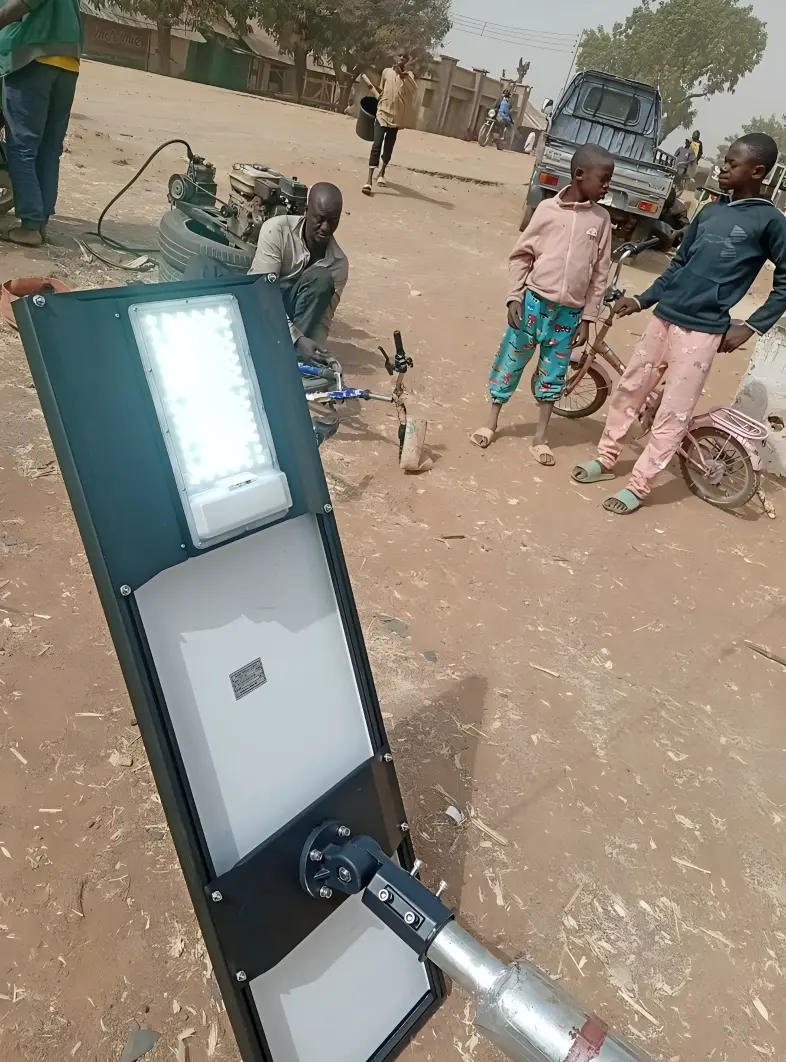
The fixture angle is important. If the angle is too high, light may spread too far and reduce brightness on the road surface. If the angle is too low, the lighting range may become too narrow. For road lighting projects, the fixture should be adjusted according to road width, pole height, pole spacing, and required lighting coverage.
3. Battery
The battery stores the electricity generated by the solar panel and supplies power to the LED fixture at night. In solar street lights, battery capacity directly affects working hours and backup days during cloudy or rainy weather.
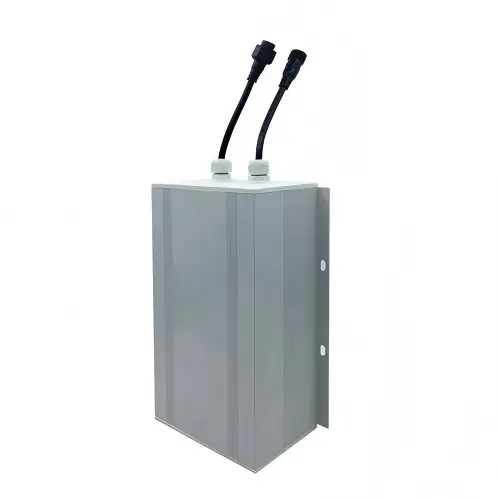
Before installation, installers check whether the battery is properly fixed, whether the battery cable is correct, whether the connector is firm, and whether the battery box or integrated housing has proper waterproof protection. If the battery is installed separately, it should be placed in a secure and protected position according to the project design.
4. Solar Charge Controller
The solar charge controller manages charging, discharging, lighting time, dimming mode, sensor mode, and system protection. It is the control center of the solar street light.
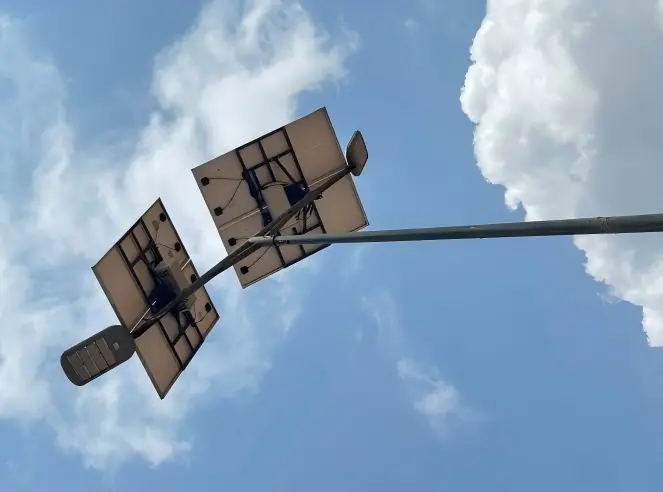
During installation, installers check the controller wiring terminals, connector labels, working mode, waterproof protection, and parameter settings. A wrong controller setting may cause the light to turn on too early, turn off too soon, stay too dim, or fail to respond to motion sensors.
5. Pole, Brackets and Mounting Accessories
The pole supports the solar panel, LED fixture, battery box, and other components. Brackets, arms, bolts, nuts, washers, anchor bolts, and foundation cages are also important parts of the installation.
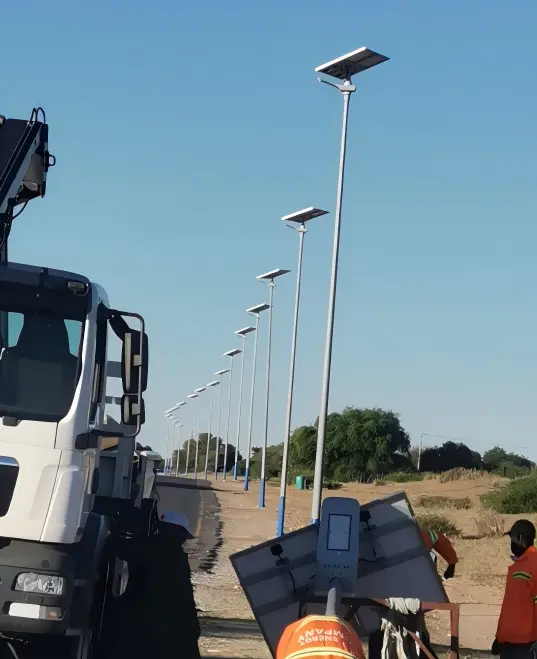
Before assembly, installers check whether the pole is scratched or deformed, whether the flange plate matches the anchor bolts, whether the bracket holes align correctly, and whether all fasteners are complete. For outdoor projects, the pole must also meet wind resistance and anti-corrosion requirements.
How Does a Solar Street Light Work?
A solar street light works by collecting solar energy during the day, storing it in the battery, and using that stored energy to power the LED light at night.
During the daytime, the solar panel generates electricity when it receives sunlight. The controller regulates the charging process and protects the battery from overcharging. At night, the controller automatically turns on the LED fixture and allows the battery to supply power.
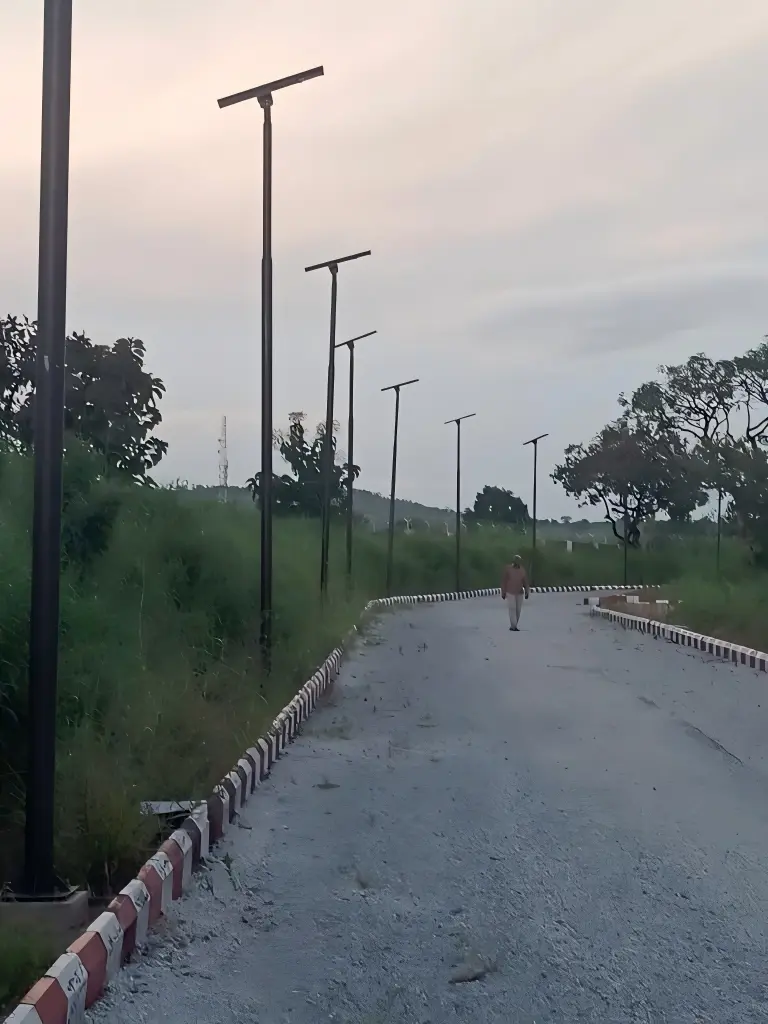
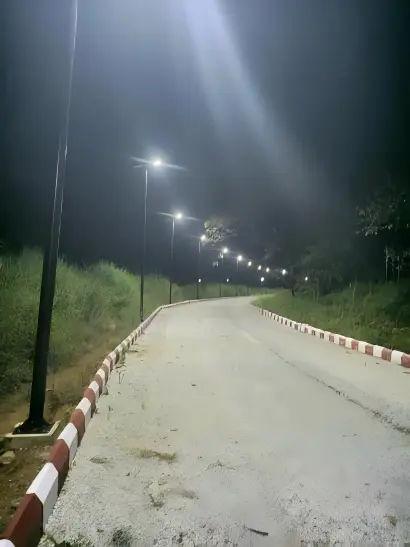
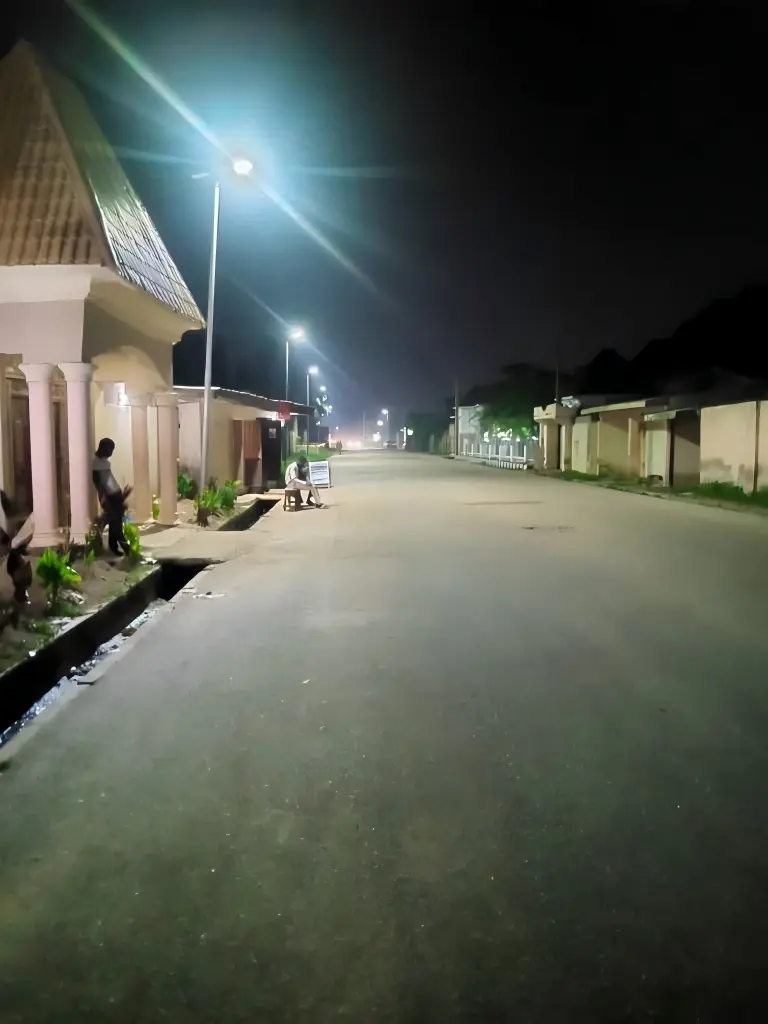
Many modern solar street lights also use smart working modes. For example, the light may work at full brightness during the first few hours after sunset, then reduce brightness during low-traffic hours, and increase brightness again when motion is detected. This helps save energy and extend lighting time.
This is why installation quality matters. If the solar panel is blocked by shade, the battery will not receive enough energy. If the battery connection is loose, the light may fail at night. If the controller mode is wrong, the light may not match the project's lighting schedule.
For projects that require faster installation and fewer separate components, all-in-one solar street light solutions can help simplify on-site assembly while keeping the solar panel, battery, controller, and LED fixture in one integrated system.
What Should Installers Check Before Installing Solar Street Lights?
A real solar street light installation usually begins with a site survey. The installer or project engineer visits the site, checks the environment, confirms pole locations, and evaluates whether the selected solar street light is suitable for the project.
1. Check Sunlight Exposure
The first thing to check is sunlight. Solar street lights depend on solar energy, so the solar panel must receive enough direct sunlight during the day.
Installers should look for shade from trees, nearby buildings, walls, utility poles, traffic signs, billboards, and overhead wires. It is also necessary to consider how shadows change during the day and across seasons.
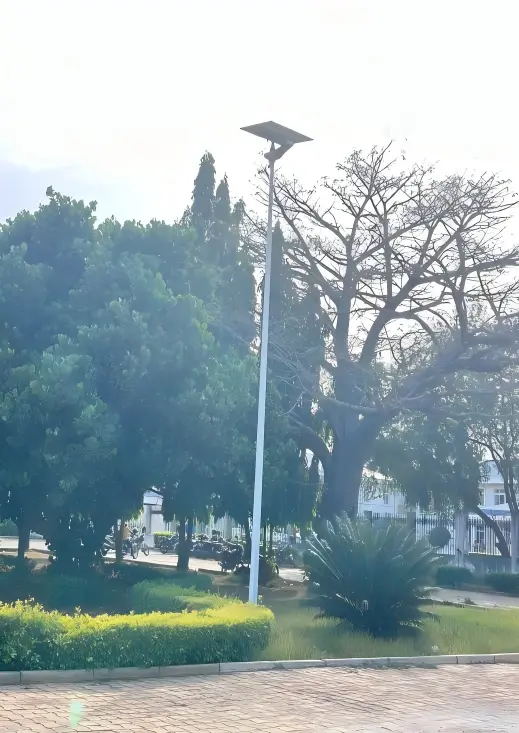
A location that looks clear in the morning may be shaded in the afternoon. A road that receives good sunlight in summer may have longer shadows in winter. If the site has unavoidable shade, installers may need to adjust the pole position, use a split solar street light structure, or change the solar panel mounting direction.
2. Confirm Road Width, Pole Height and Lighting Area
After checking sunlight, the installer needs to confirm the lighting area. Different locations require different lighting layouts.
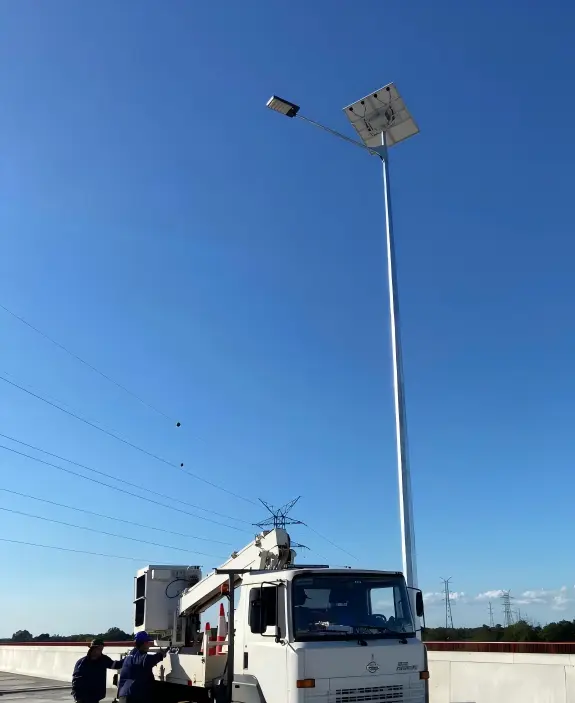
For example, a narrow village road may need lower pole height and smaller lighting power, while a wide municipal road may require higher poles, wider beam angles, and more careful spacing. Parking lots, parks, school roads, factory areas, and industrial parks may also have different lighting coverage requirements.
3. Installers usually check:
Road width, pole height, pole spacing, mounting side, lighting direction, pedestrian flow, vehicle flow, target brightness, and whether the site needs continuous lighting or sensor-based lighting.
This step helps avoid uneven lighting, dark zones, excessive glare, or wasted light.
4. Check Soil and Foundation Conditions
The pole foundation is critical for safety. Before digging, installers need to check the ground condition.
Soft soil, sand, backfilled soil, coastal areas, open fields, and high-wind regions may need stronger foundations. If the pole is tall or the solar panel is large, wind load becomes more important. The foundation size should match the pole height, local wind condition, and engineering requirements.
A weak foundation may not show problems immediately after installation, but it can cause pole shaking, tilting, or structural risks after strong wind or long-term use.
5. Confirm Installation Tools and Safety Preparation
Before installation begins, the team should prepare all required tools and safety equipment. This usually includes lifting equipment, wrenches, torque tools, screwdrivers, multimeter, insulated gloves, safety helmets, safety ropes, anchor bolts, concrete materials, waterproof connectors, and cable fixing accessories.
For large projects, site safety management is also important. The work area should be marked, traffic should be controlled if necessary, and lifting work should be handled by trained personnel.
What Is the Normal Process for Installing Solar Street Lights?
The following process reflects a typical project installation sequence. Different products may have different details, but the overall logic is similar.
Step 1: Unpack and Check All Components
Before any installation work, installers usually open the package and check the parts one by one. This includes the solar panel, LED fixture, battery, controller, pole, brackets, arms, screws, cables, connectors, foundation bolts, and installation manual.
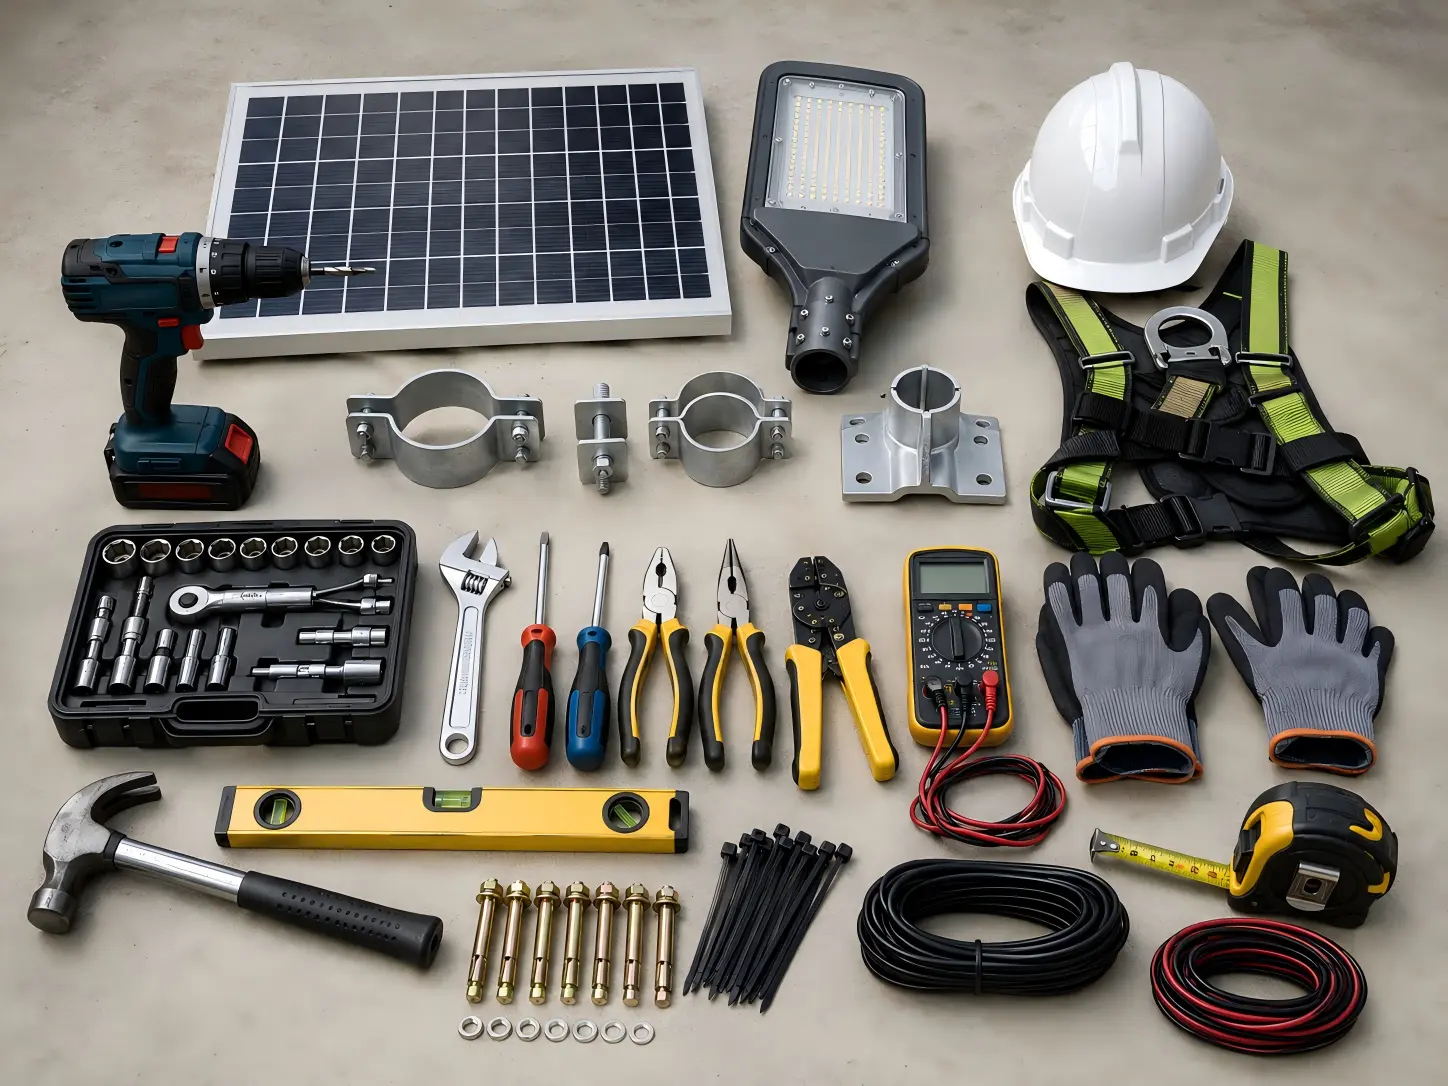
The installer checks whether there are missing parts, whether the solar panel glass is cracked, whether the LED fixture is damaged, whether the cables are cut or loose, and whether the mounting holes match correctly. If any part is missing or damaged, it should be solved before starting installation.
This step may look simple, but it prevents many problems during later assembly.
Step 2: Mark the Pole Position on Site
After confirming the lighting layout, the installer marks the exact pole positions on the ground. The spacing should match the project design.
At this stage, installers also check whether the marked positions conflict with underground pipelines, drainage channels, curbs, walls, trees, power lines, or road facilities. If a pole position is not suitable, it should be adjusted before foundation construction.
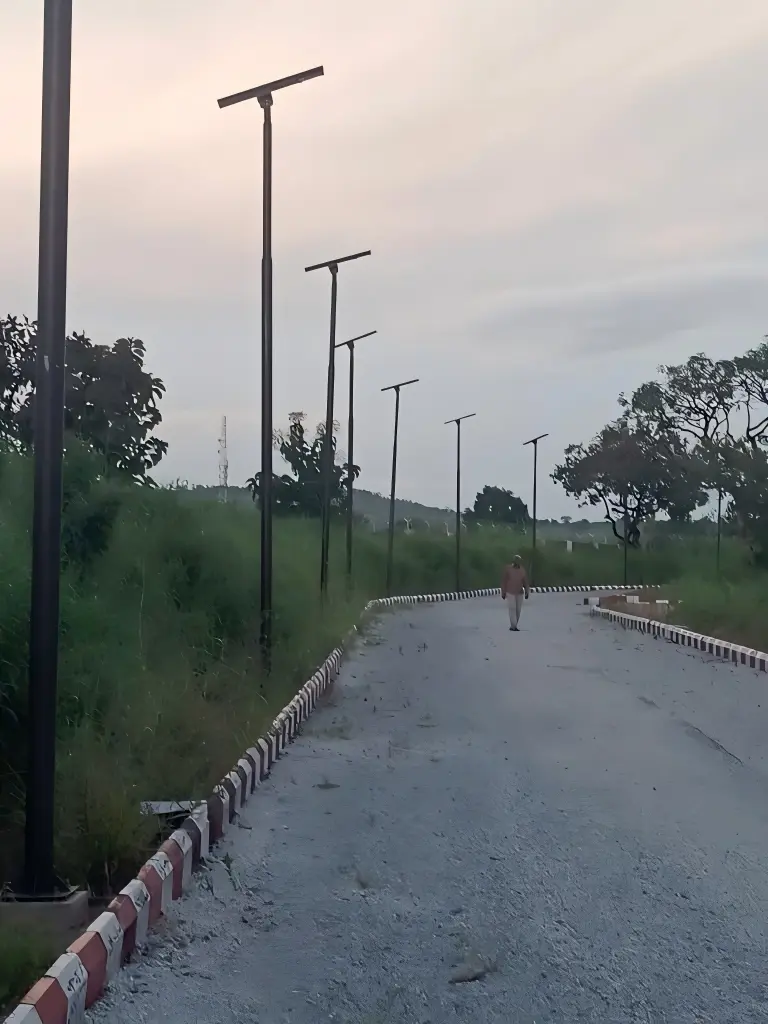
For road projects, the pole position should allow the LED fixture to illuminate the target road surface while keeping the solar panel away from shade.
Step 3: Prepare the Foundation
The foundation is prepared according to the pole height, soil condition, and wind load requirement. The installer digs the foundation pit, places the anchor bolt cage, adjusts the bolt position, and pours concrete.
The anchor bolts must be aligned with the pole base plate. The top surface of the foundation should be level. The cable outlet, if required, should be reserved properly. After concrete pouring, the foundation must be allowed to cure before the pole is erected.
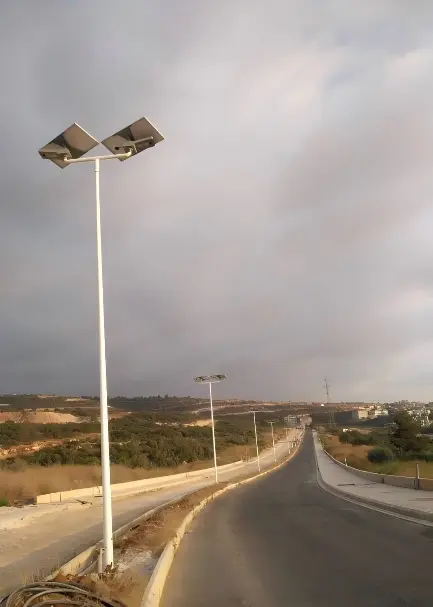
For taller poles or windy areas, the curing time and foundation strength should be carefully controlled. Installing the pole too early may cause the foundation to crack or become unstable.
Step 4: Pre-Assemble the Pole, Brackets and Light Fixture
Once the foundation is ready, installers usually pre-assemble parts on the ground. This is safer and more efficient than assembling everything after the pole is lifted.
The LED fixture is fixed to the lamp arm or bracket. The solar panel bracket is installed on the pole or panel frame. The battery box, controller box, or integrated module is fixed according to the product structure.
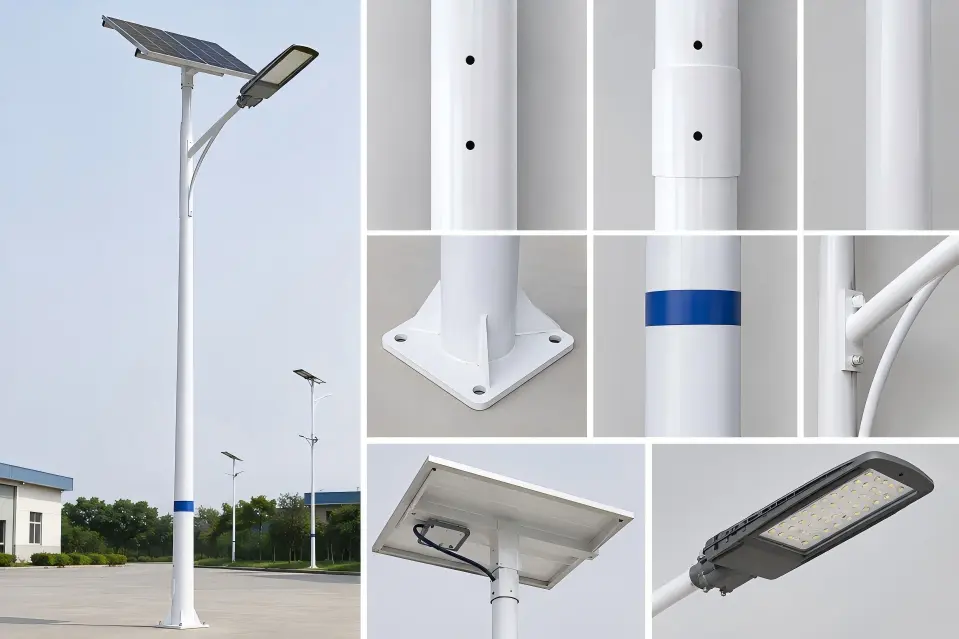
During pre-assembly, installers tighten screws, check mounting directions, and make sure the fixture and panel are positioned correctly. Loose screws should be avoided because vibration and wind may loosen components over time.
Step 5: Install and Adjust the Solar Panel
The solar panel is mounted on the bracket and adjusted toward the best sunlight direction. The installer should make sure the panel is not blocked by the lamp head, pole, trees, buildings, or other objects.
The panel should be fixed firmly with bolts and anti-loosening parts. The cable should be arranged neatly and protected from pulling, bending, or rubbing against metal edges.
For split solar street lights, the solar panel may be installed separately from the pole. In this case, the installer should confirm cable length, cable routing, waterproof protection, and the distance between the panel and controller.
Step 6: Install the LED Fixture and Adjust the Beam Angle
The LED fixture should be installed securely on the arm or bracket. The installer adjusts the lamp angle according to the road width and lighting direction.
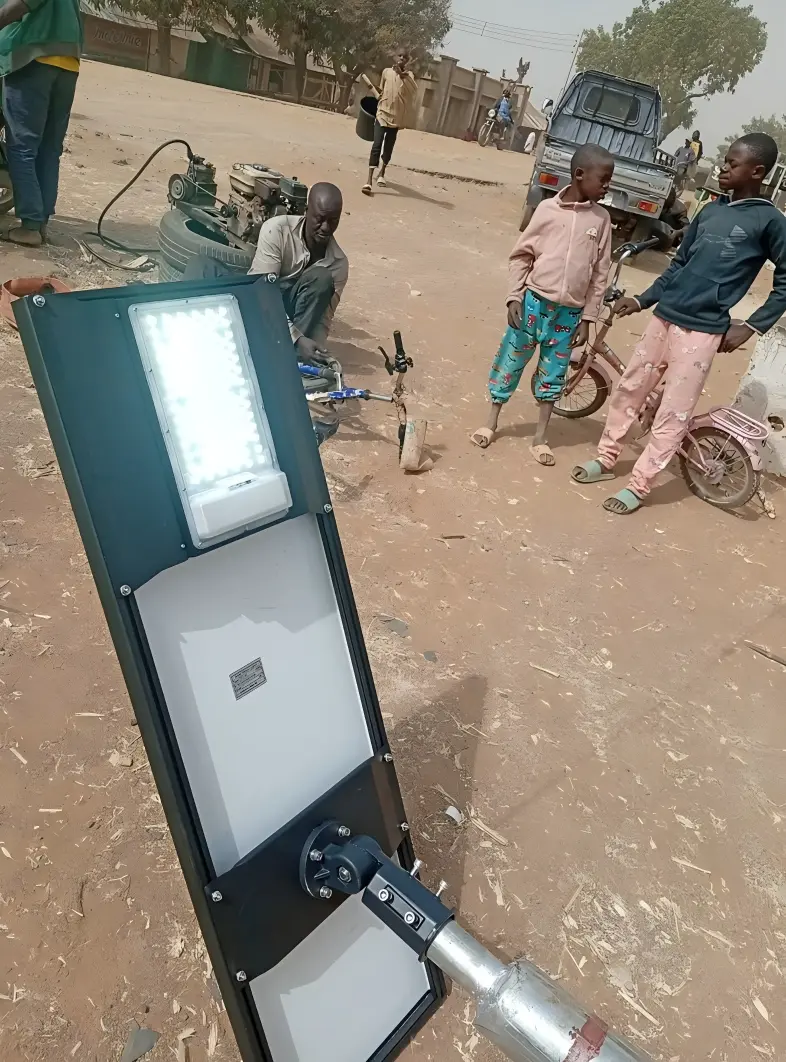
The goal is to allow the beam to cover the required area evenly. The installer should avoid pointing the light too far away from the road or too close to the pole base. For roads with vehicles or pedestrians, glare should also be considered.
After adjustment, all fixing screws should be tightened again.
Step 7: Connect the Battery, Controller, Solar Panel and LED Fixture
Wiring is one of the most important parts of solar street light installation. The installer should follow the wiring diagram and connect the components in the correct order.
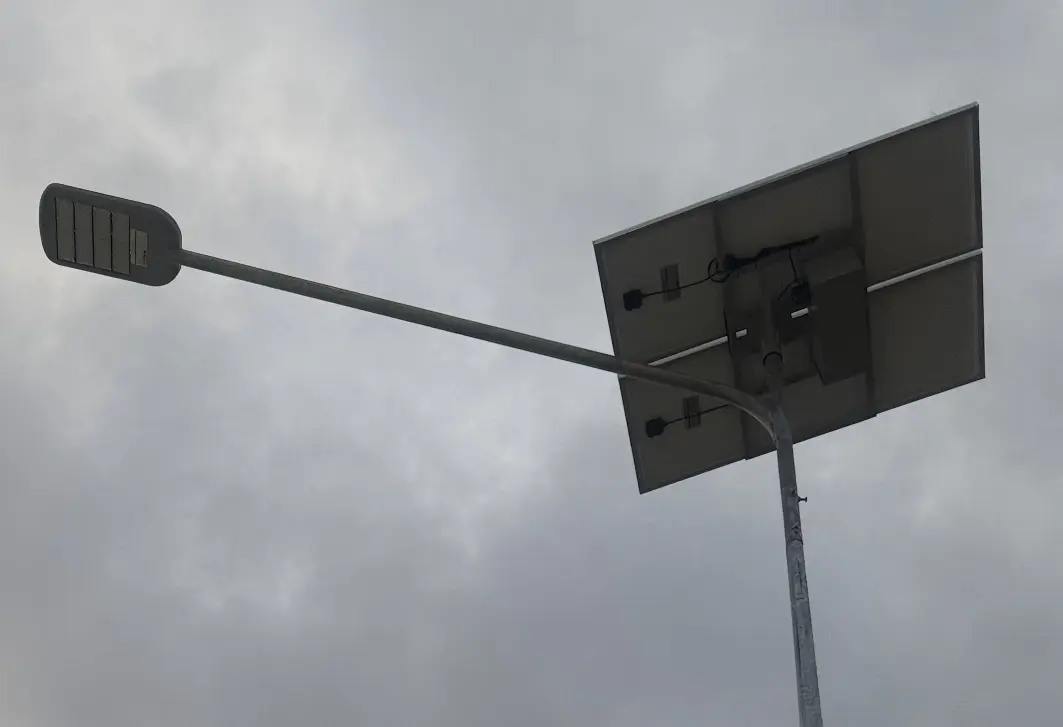
The positive and negative terminals must be connected correctly. Waterproof connectors should be locked firmly. Cables should be fixed to avoid shaking, pulling, or water entering the connector area.
After wiring, the installer checks whether the controller indicator lights are normal, whether the battery voltage is within the expected range, and whether the solar panel input is detected properly. If the system supports remote control or smart settings, the installer should set the working mode at this stage.
Step 8: Erect and Secure the Pole
After the components are assembled and checked, the pole can be lifted. The installer uses suitable lifting equipment to raise the pole slowly and place it on the foundation bolts.
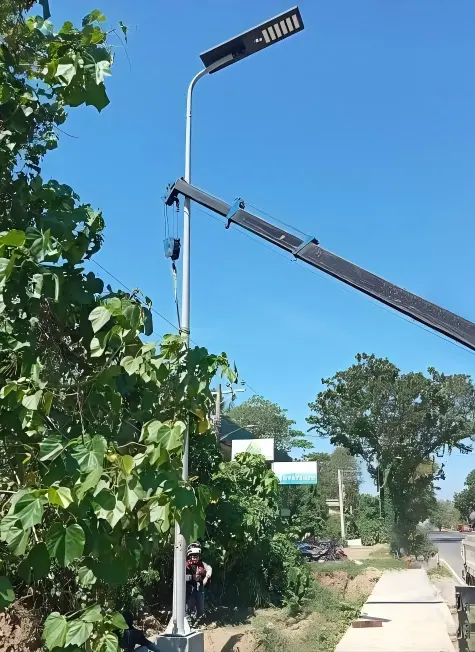
During lifting, workers should keep a safe distance and avoid standing under the pole or solar panel. After the pole is placed on the foundation, the installer adjusts its vertical alignment and tightens the nuts.
The pole should be straight and stable. The solar panel direction and LED fixture direction should be checked again after the pole is fixed, because they may shift during lifting.
Step 9: Test the Lighting System
After installation, the system must be tested. Installers usually check whether the solar panel can charge, whether the controller works, whether the LED fixture turns on, and whether the battery connection is stable.
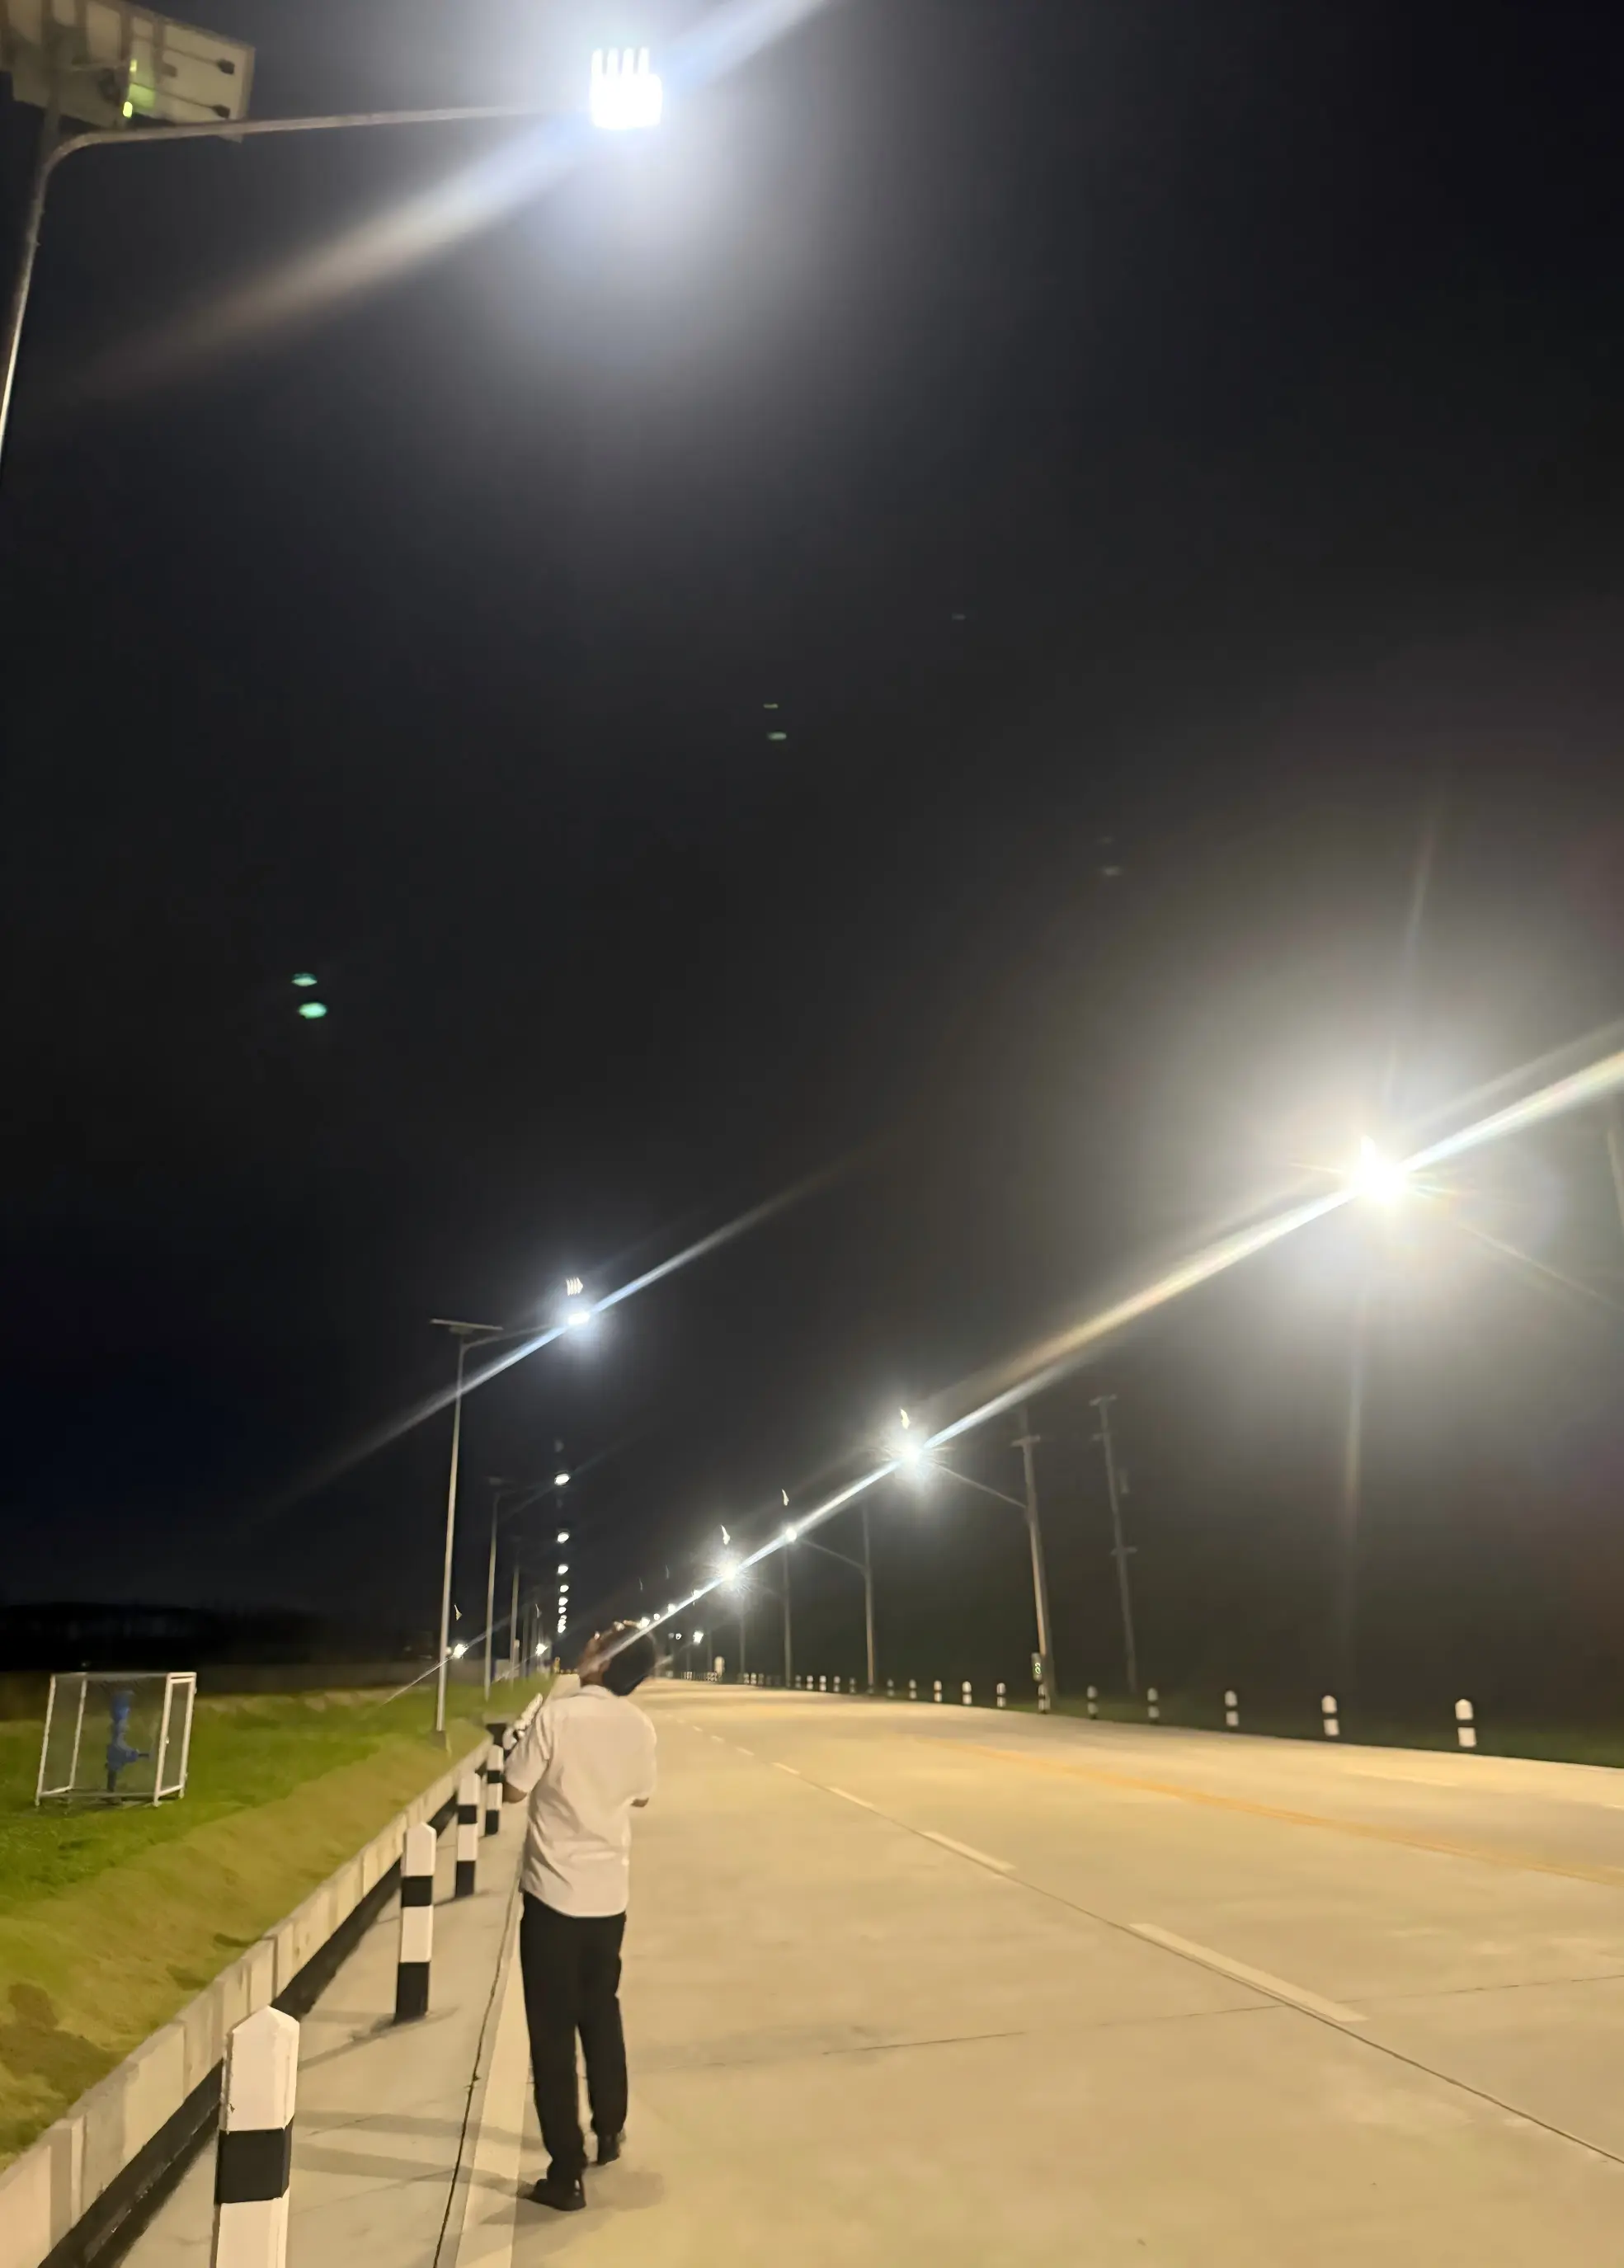
A common test method is to cover the solar panel or simulate nighttime conditions to check whether the light turns on automatically. If the system has motion sensors, dimming modes, or time control functions, these settings should also be tested.
At night, the installer or project team should check the actual lighting effect. This includes road coverage, brightness, dark spots, glare, and lighting uniformity.
Step 10: Final Commissioning and Acceptance
Final commissioning confirms that the solar street light can work according to the project requirements.
The installer checks all screws, brackets, waterproof connectors, wiring, pole stability, controller mode, lighting time, sensor function, and actual illumination. Any problem should be adjusted before the project is accepted.
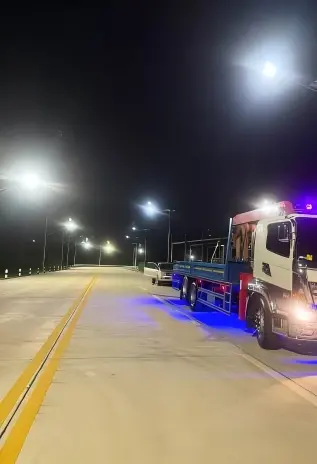
For engineering projects, the installation team may also record installation photos, lighting test results, pole numbers, controller settings, and maintenance notes for future service.
Installation Differences by Solar Street Light Type
Different solar street light structures require different installation methods. Choosing the right structure can make installation easier and improve long-term reliability.
All-in-One Solar Street Light Installation
An all-in-one solar street light integrates the solar panel, battery, controller, and LED fixture into one unit. It requires less wiring and usually installs faster.
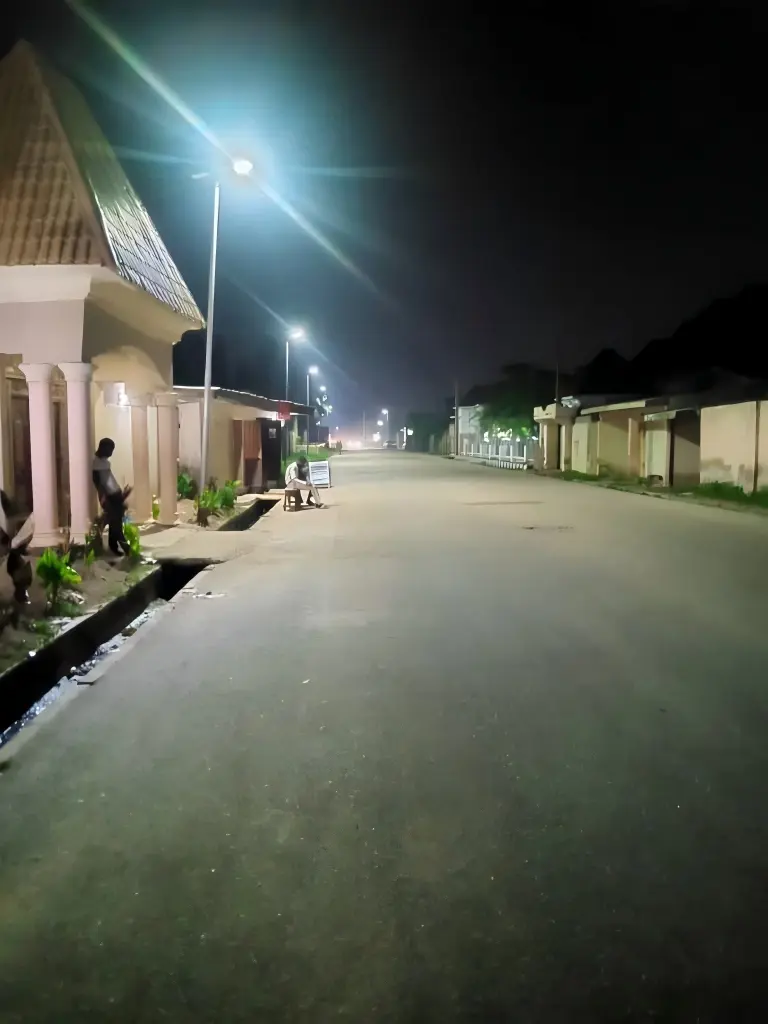
Installers mainly need to fix the integrated light body on the pole, adjust the panel and light direction, tighten the mounting parts, and test the working mode. This type is suitable for village roads, parks, parking lots, campuses, residential areas, and general outdoor lighting projects.
However, because the panel and light body are integrated, the installation position must balance both sunlight exposure and lighting direction.
Split Solar Street Light Installation
A split solar street light separates the solar panel, LED fixture, battery, and controller. This gives installers more flexibility.
For example, the solar panel can be mounted where sunlight is best, while the LED fixture can be adjusted for road lighting coverage. This structure is suitable for high-power projects, wide roads, municipal lighting, industrial parks, and complex sites.
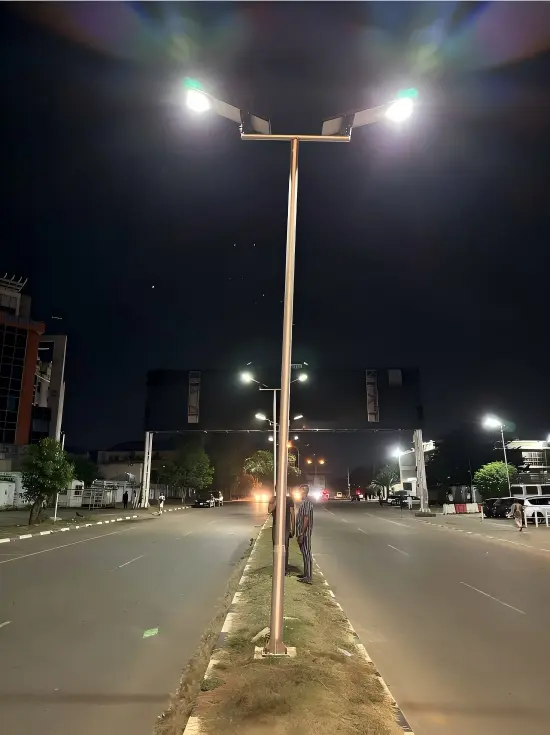
The installation takes more time because cable routing, waterproofing, battery placement, and controller connection must be handled carefully.
Solar Pole Installation
For project-grade solar street lights, the pole is a key structural part. Installers need to consider pole height, wall thickness, flange size, anchor bolts, foundation strength, wind resistance, and anti-corrosion treatment.
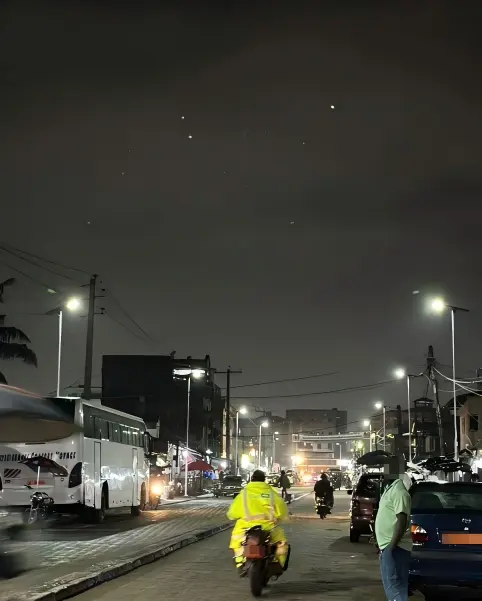
A good pole installation should be stable, vertical, and suitable for the local outdoor environment. After strong wind or heavy rain, the pole and mounting screws should be checked as part of regular maintenance.
Common Solar Street Light Installation Mistakes
Many solar street light failures are caused by installation problems. Common mistakes include placing the solar panel in shade, using the wrong panel direction, making the foundation too weak, setting the LED fixture angle incorrectly, connecting the battery or controller incorrectly, leaving connectors exposed to rain, choosing the wrong working mode, and skipping final testing.
These mistakes may lead to short lighting time, low brightness, unstable operation, battery damage, water leakage, or safety risks. A careful installation process helps reduce future maintenance and improves system reliability.
Solar Street Light Installation Checklist
Use this checklist before final acceptance.
| Check Item | What to Confirm | Check Item | What to Confirm |
| Component inspection | Solar panel, LED fixture, battery, controller, pole, brackets, screws, and cables are complete and undamaged | Solar panel | Direction, tilt angle, cable routing, and mounting strength are correct |
| Site sunlight | The solar panel position has no major shade from trees, buildings, poles, or signs | LED fixture | Beam angle, lighting direction, and coverage are properly adjusted |
| Pole position | Pole spacing, road coverage, installation side, and lighting direction match the layout | Battery and controller | Wiring, polarity, waterproof connection, and controller indicators are normal |
| Foundation | Foundation depth, anchor bolts, level surface, and concrete strength are suitable | Lighting mode | Working hours, dimming mode, sensor mode, and remote settings are correct |
| Pole | Pole height, vertical alignment, and fixing stability are correct | Final test | Charging, automatic lighting, timing, sensing, dimming, and nighttime illumination are confirmed |
How Long Does It Take to Install Solar Street Lights?
The installation time depends on product structure, pole height, foundation condition, site environment, lifting equipment, and project scale.
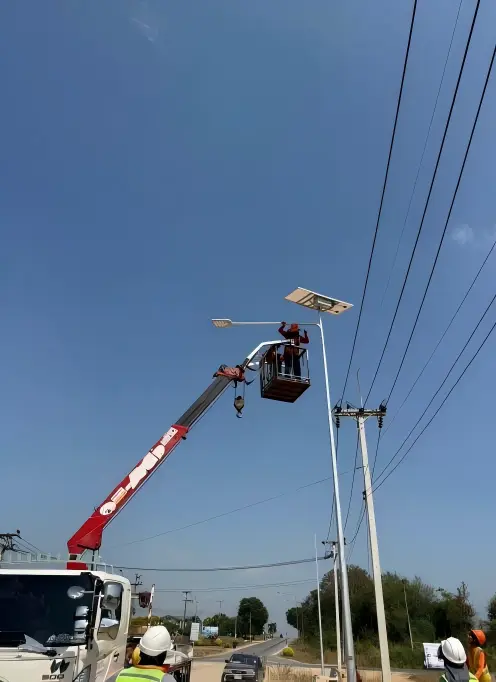
If the foundation has already been completed, an all-in-one solar street light can usually be installed faster because most components are integrated. A split solar street light takes more time because the solar panel, battery, controller, LED fixture, and cables need to be positioned and connected separately.
For large projects, the total installation time should also include site survey, layout marking, foundation curing, lifting work, wiring inspection, nighttime lighting test, and final acceptance.
Do Solar Street Lights Need Professional Installation?
Small low-power solar lights may be installed with simple tools. However, solar street lights used for roads, parking lots, schools, factories, campuses, industrial parks, and municipal projects should be installed by experienced teams.
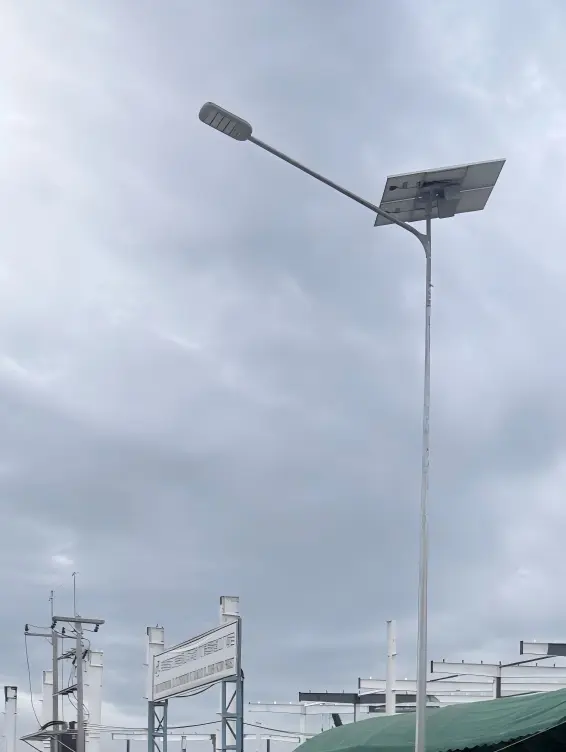
Professional installation helps ensure correct foundation design, safe pole erection, proper wiring, reliable waterproof protection, suitable lighting angle, and accurate controller settings. This reduces structural risks and improves long-term lighting performance.
Maintenance Tips After Installation
After installation, regular maintenance helps keep solar street lights working efficiently.
The solar panel should be cleaned regularly to remove dust, leaves, bird droppings, and other dirt. After strong wind or heavy rain, installers or maintenance teams should check pole stability, bracket screws, waterproof connectors, and fixture angle.
The battery and controller should also be inspected periodically. During rainy seasons or long cloudy periods, the lighting time should be observed. If the working mode no longer matches the project requirement, the controller setting can be adjusted.
Although solar street lights require less maintenance than grid-powered street lights, regular inspection is still important for long-term reliability.
How to Choose the Right Solar Street Light for Easier Installation?
Choosing the right solar street light can make installation easier and reduce future maintenance. Buyers should not only compare price or wattage. They should also consider product structure, solar panel efficiency, battery capacity, controller function, pole height, waterproof rating, wind resistance, installation environment, and after-sales support.
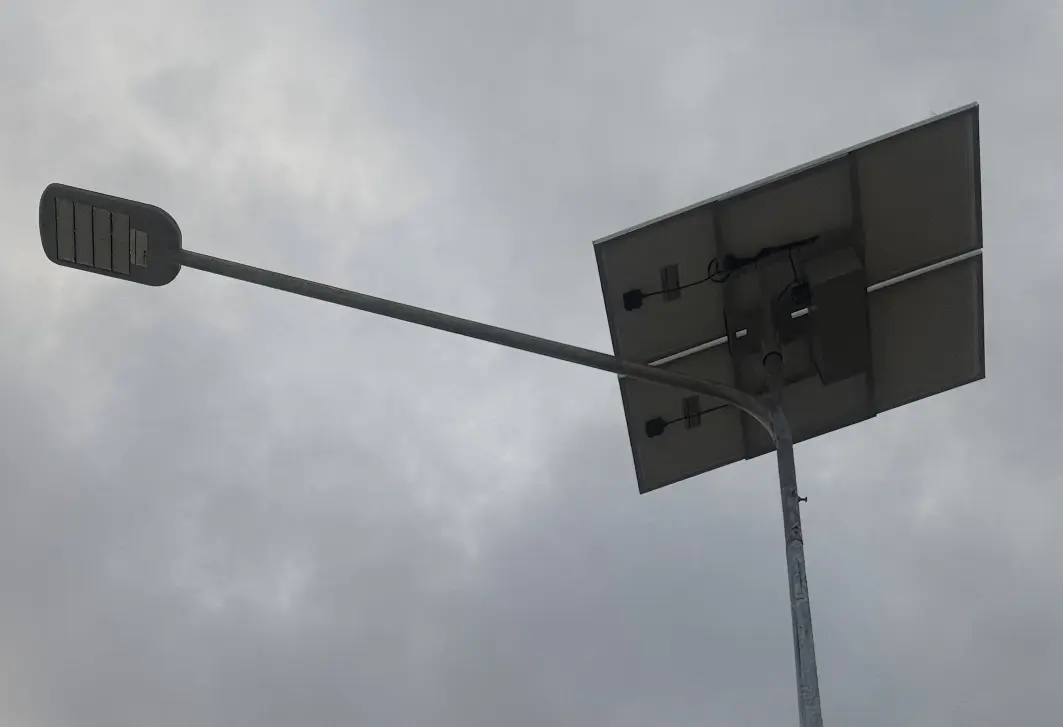
For simple roads or standard outdoor lighting projects, all-in-one solar street lights may offer faster installation. For high-power roads, complex sites, or projects with special sunlight conditions, split solar street lights may provide more installation flexibility.
A suitable solar street light solution should match the site environment, lighting requirement, installation method, and maintenance plan.
FAQs
What is the process for installing solar street lights?
The process includes component inspection, site survey, foundation preparation, pole and bracket assembly, solar panel installation, LED fixture installation, battery and controller connection, pole erection, system testing, and final commissioning.
What should be checked before installing solar street lights?
Before installation, check sunlight exposure, shading conditions, road width, pole spacing, soil condition, foundation requirement, installation tools, safety equipment, and whether all components are complete.
Do solar street lights need wiring?
Solar street lights usually do not need grid wiring, but the solar panel, battery, controller, and LED fixture still need internal wiring. Correct polarity, waterproof connectors, and cable fixing are important.
Which direction should solar street light panels face?
The solar panel should face the direction with the best sunlight exposure. In many cases, panels face south in the Northern Hemisphere and north in the Southern Hemisphere, but the final direction should be adjusted according to actual site conditions.
How deep should the foundation be for solar street lights?
Foundation depth depends on pole height, soil condition, wind load, and project requirements. Tall poles, soft soil, and high-wind areas usually require stronger and deeper foundations.
Can solar street lights be installed in cloudy or rainy areas?
Yes. Solar street lights can be installed in cloudy or rainy areas, but the solar panel size, battery capacity, controller settings, and backup lighting days should be designed according to local sunlight conditions.
What are the most common solar street light installation mistakes?
Common mistakes include poor site selection, shaded solar panels, weak foundations, wrong panel direction, incorrect LED fixture angle, wiring errors, poor waterproof treatment, wrong controller settings, and no final test.
Are all-in-one solar street lights easier to install than split solar street lights?
Yes. All-in-one solar street lights are usually easier and faster to install because the main components are integrated. Split solar street lights offer more flexibility but require more wiring, positioning, waterproofing, and testing.
Conclusion
A proper solar street light installation is a complete engineering process. It starts with component inspection and site survey, then moves to foundation preparation, pre-assembly, wiring, pole erection, system testing, and final commissioning.
For roads, parking lots, villages, campuses, industrial parks, and municipal lighting projects, every detail matters. Solar panel direction affects charging efficiency. Foundation strength affects safety. Wiring quality affects system stability. Controller settings affect lighting time. Final testing confirms whether the system can work reliably.
By following a clear installation process and choosing the right solar street light structure, project owners and installers can reduce installation problems, improve lighting performance, and ensure long-term outdoor operation.
Table of Contents